
I learned this trick a long time ago, along with a bunch of others, while editing and working over my AI renders. This one I call God Lighting!
After you've brought your AI render into Photoshop, you may have already done some editing, but there's just something missing, and you can't figure out what it is.
Try adding some God Lighting!
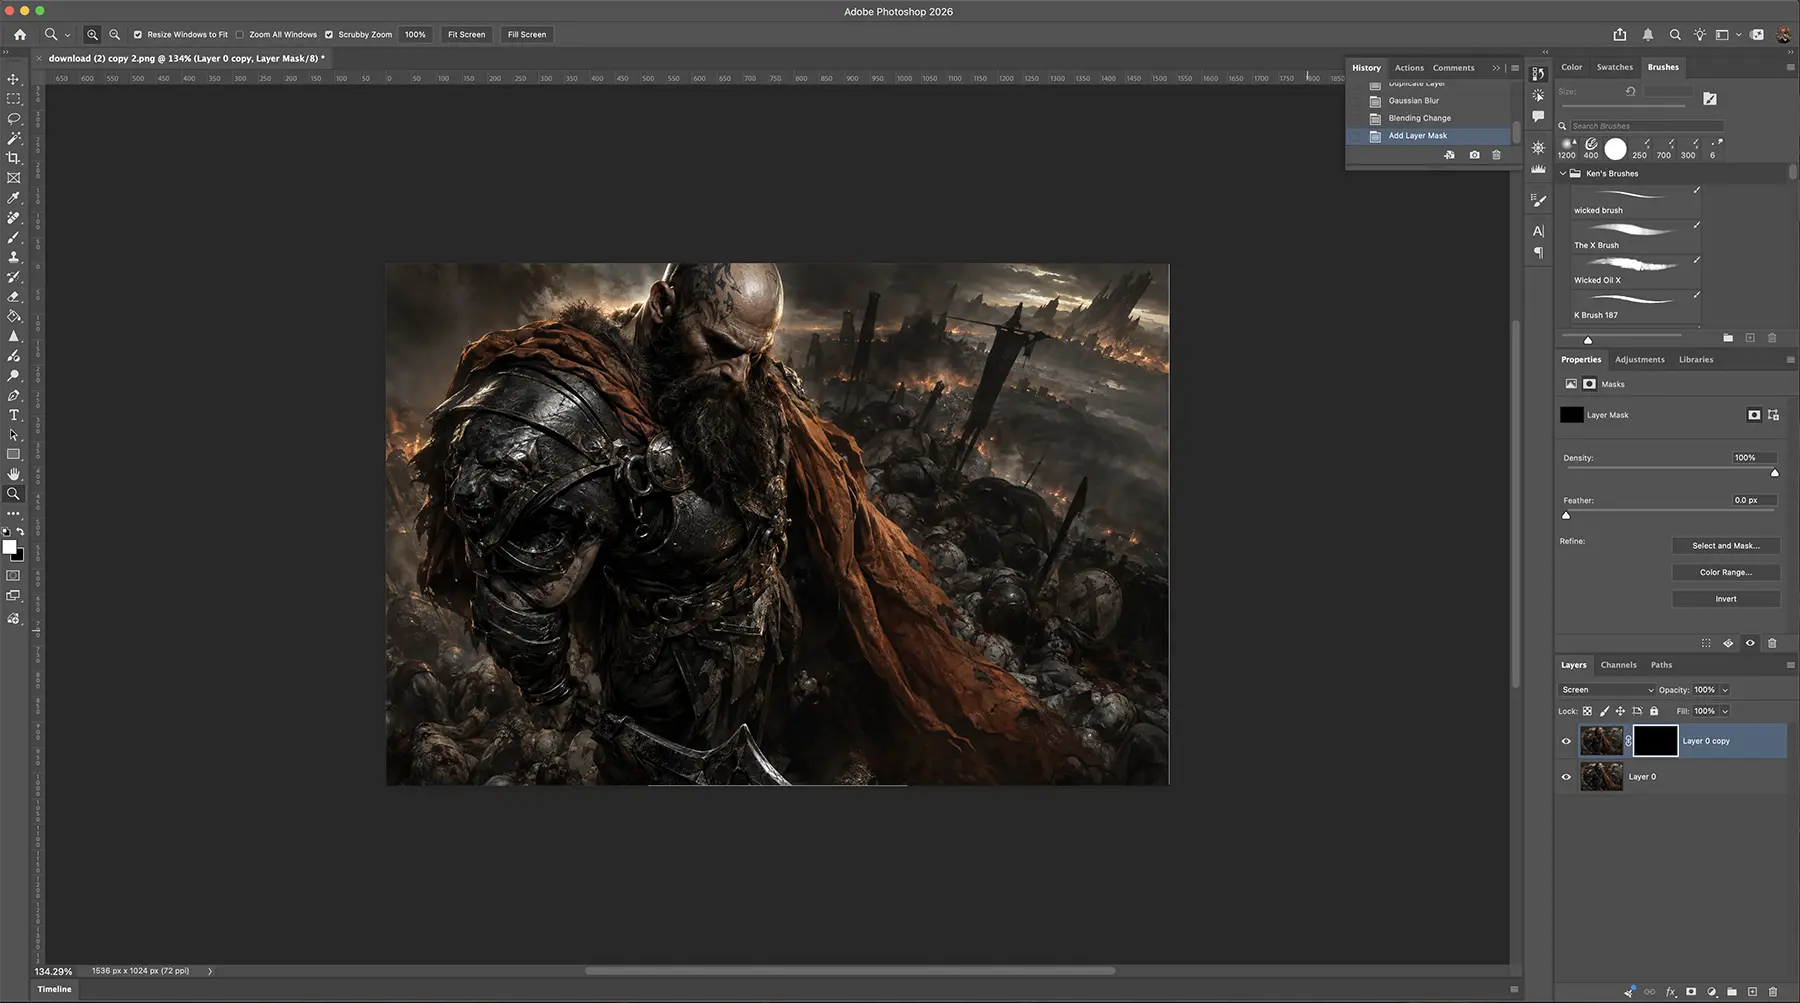
If your image is locked as a background, just click the padlock to the right. This turns it into a layer. Now drag that layer over the + box next to the garbage can.
This duplicates the layer. Now you have two versions!
OK, on the layer above, select it and go to Filter, choose Blur, then Gaussian Blur. Set it to around 12.
Now go back to your Layers panel, and with the blurred layer selected, you'll see a dropdown menu that says Normal. Change Normal to Screen.
Now put a black mask over the layer. You can do this quickly by holding Alt (Option on Mac) and clicking the Layer Mask button at the bottom.
OK, now choose your favorite brush. I choose a soft one, set it to 12% opacity, and start painting in the lighting where you want it!
God Light!!
Thank you I hope you enjoy this new skill!!
Wicked